On upcycling, or whathaveyou

I’m one of those people who has a hard time getting rid of things most of the time, because I’m inclined to imagine other uses for it.  T-shirts, for example, are CERTAIN to become t-shirt yarn and then fabulous folksy rugs, except that they are all different weights and textures and none of them is a color I’m crazy about.  But I have to store them for a couple of years before I can arrive at this conclusion and give them away.  It’s an imperfect system, but I really excel at it.

So imagine my husband’s surprise when he entered the kitchen yesterday afternoon to find me packing Bonne Maman jars into a big cardboard box.  It’s our preferred jam, and we eat a lot of jam, and when we realized a few years ago that the jars were useful for everything from packing kids’ lunches to serving gin and tonic, well, we kept a few.  Ah-hem.  They overflowed the glass-cabinet, and then we started storing them on the windowsill by the food-prep area, because it was so convenient for lunch-packing.  At first it was one row, then a second on top, and then a third, in a truly precarious and often artistic display.  A few weeks ago, our boys decided to stop eating our packed lunches on the two days a week they go to daycare, preferring to eat what everyone else eats (daycare makes fresh lunches for the kids every day).  And here we are with seven thousand jars and no concrete use for them.  But then I remembered some friends who may want to borrow them for glasses at their August wedding on the coast, and then I got to thinking about everything else you can do with them.  So here’s my list.  Pinterest style.  Be inspired.  Or entirely turned off this blog.  It’s up to you.

A whole bunch of things you can do with Bonne Maman jam jars:

  1. Drink out of them (preferably clear, icy drinks with lemon twists or olives).
  2. Store smoothies in them (remove cap; drink).
  3. Put frozen veg or fruit in them to thaw for kid-sized snacks at home or on the go.
  4. Pack lunches in them (pesto-pasta in one; cut-up chicken in another; peas in another).
  5. Use as votive-holders with glass beads, pebbles, or sand in the bottom.
  6. Use for terrarium: add moss, sticks, wee ferns.  Occasional plastic animals may find their way in as well.
  7. Use for aquarium: add rocks, water, and a small plastic sea-turtle.
  8. Catch spiders or fireflies or other cool creatures.  Examine at leisure and then release.
  9. Fill partway with soapy water and use as receptacle for Japanese Beetles, Tomato Hornworms, or other interesting-to-look-at but utterly unwanted garden guests.
  10. Use for vases, especially for simple, short, matching arrangements of daisies, for example.
  11. Use as centerpieces filled with small fruits.
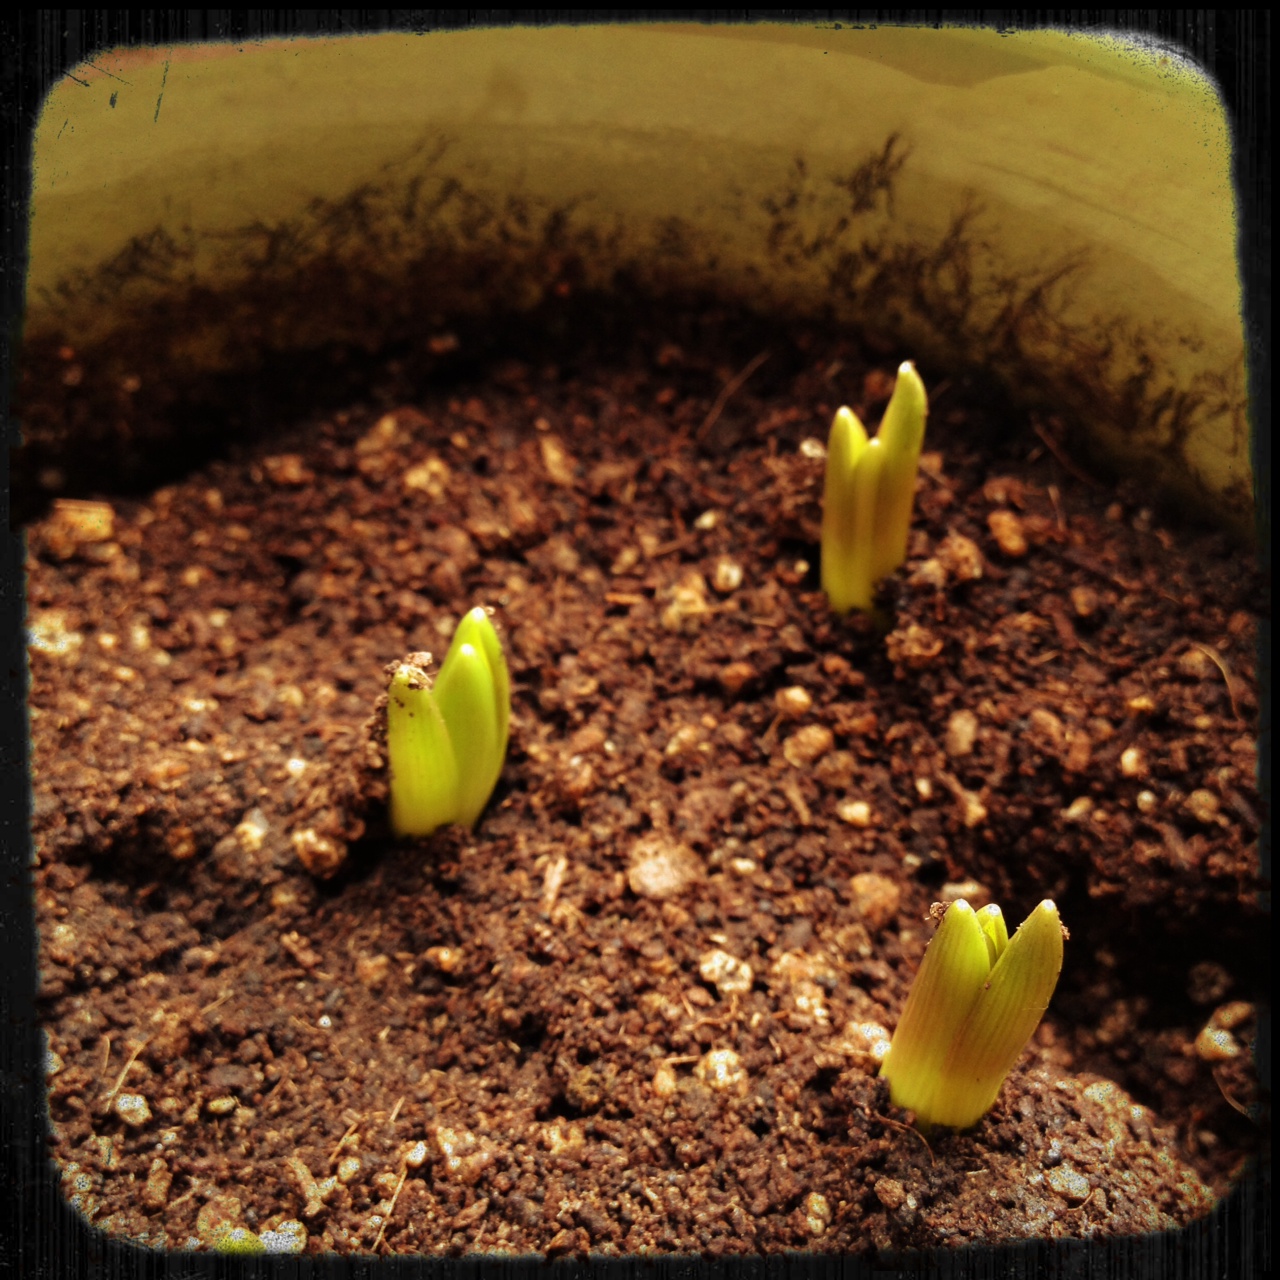
  12. Fill partway with glass beads and water; rest an avocado seed halfway in the water.  Wait a few months and it’ll sprout.
  13. Use to organize office supplies; craft materials; small children’s toys; crayons; hair clips; coins.
  14. Wire them around the edges and hang them as vases or candle-holders.
  15. Use to store dried herbs or other non-perishable household items.
  16. Use to freeze pesto, if you make it in large batches; one jar, 2/3 full, is just right for our standard box of pasta.
  17. Use to freeze breastmilk.  I kid you not.  Those Medela bottles are pricey and this works just as well.
  18. Use in place of Tupperware for storing leftovers, making more room in your fridge.
  19. Make a sewing kit for a gift or for your own house.
  20. Make cocoa-mix gifts.  Or small Halloween candy jars.  Or layered soup mixes.

Or, as my husband points out, you could conceivably just recycle them.  If you were cold of heart and dead of spirit.

Our home bread revolution

IMG_1245I am someone who lives in the perpetual struggle between wanting to live frugally and wanting to eat well.  There are certain non-negotiables: organic dairy products; decent wine/beer; and until recently, good bread.  There are two fabulous local bakeries that we like to support (don’t you love it when a good cause is also the best food around?), but we are also bread-hogs, and our little habit was costing us maybe $50 a month.  I’d tried baking bread off and on for the last few decades, but the best I could do was a very good (but highly specific) polenta bread and a decent sandwich loaf.  All other attempts were met with varying degrees of disappointment and rage.  By me, I hasten to add.  Len loves whatever I cook and is uniformly supportive (which I don’t understand but revel in).

So imagine my skepticism when I read about these “no-knead” bread strategies that cost less than a buck a loaf.  But imagine my experimental enthusiasm as well!  A few weeks ago, I tried it.  This is the recipe that, I believe, started with Mark Bittman’s thing on no-knead bread, but I found it here at the Italian Dish Blog.  It seems like an awful lot of flour (and I changed it some, as detailed below), but then, it makes three loaves of bread!  And the most incredible thing is that it is really really easy AND really really delicious.  Raise your skeptical eyebrows all you want, people.  Try it and see.

So several times a week, now, our house is filled with the glorious aroma of baking bread; our lives are enriched by those first warm slices slathered in melting butter; our ordinary toast — with jam, with melted cheddar, with slices of creamy avocado — is now a thing of transcendent beauty.  Once a week I mix a new batch and let it sit.  Honestly, the worst thing about this whole undertaking is that the bowl I use takes up too much room in the fridge.  Poor poor me.

So here’s the recipe:

  • 3 cups warm water
  • 1 1/2 Tablespoons (or 4 1/2 teaspoons or 2 packets) granulated fast-acting yeast
  • 1 1/2 Tablespoons (ditto) coarse salt
  • 3 1/2 cups bread flour
  • 1 1/2 cups all-purpose flour
  • 1 1/2 cups white whole wheat flour

You mix the yeast and salt into the warm water — I use a fork to make sure it’s all dissolved.

Mix the flours together and then add them to the yeasty water all at once.  Mix until moist.

Cover and allow to rise (not airtight) for about two hours — longer is fine.  We understand the vagaries of life, and so does this dough.  (And in case you feel like there’s some professional fancy dough-covering device needed — nah.  I use a recycled plastic grocery bag with the handles tied in front.  Sue me.)

Refrigerate at least 3 hours (this dough is really sticky and wet, and refrigeration makes it easier to handle).  I leave the bowl in the fridge for up to a week, taking off what I need as I go.  Though you will be tempted to rest other foodstuffs on TOP of the dough bowl, it’s probably not a great idea.

To bake: put a sheet of parchment paper on a lipless cookie sheet or pizza peel.  When it curls up repeatedly, curse under your breath and place the parchment paper box lengthwise across it to hold it down while you prepare the dough.

Cut off, with a serrated knife, about a third of the dough.  If it’s sticking to your hands, you can dust them with flour, but I rarely need to do that, and it’s much faster if you don’t have to get things OUT for this.  Shape the dough into a sausagey-french-loaf-kind-of-shape as quickly as you can, pulling the top under to the bottom and hanging it to lengthen it .  The surface should be taut and smooth.  This should all take maybe 30 seconds.  Set dough on parchment paper-covered cookie sheet.  Let rise 30-40 minutes (and don’t worry if it doesn’t do much.  Mine rarely does).

20 minutes before baking, put a pizza stone in the center rack of the oven and a shallowish pan on a lower rack (I find it best if the pan is not directly beneath the stone).  Preheat your oven to 450.

Immediately before baking, slash the top of the bread three times with a sharp knife.  Slide the dough, paper and all, onto the hot pizza stone.  Then quickly pour one cup of water into the pan and close the oven door.  Bake 30 minutes, turning the paper once if your oven is crappy and uneven like mine.

When bread is almost finished, use a clean towel to lift the loaf briefly, peel off the paper, and return the bread to the stone (ideally to a new, hotter spot on said stone).  Crisp for five more minutes to brown the bottom crust.

Enjoy your absolute wizardry; brag to all your friends.  Regret it when they demand taste-tests.  A few days (or hours) later, when your loaf is gone, just grab more dough from the bowl and fire it all up again.

A last note: when you go to make a new batch, you don’t have to wash out the bowl.  According to the authors at The Italian Dish Blog, the leftover yeasty doughy goodness just adds to the flavor.  And indeed it does, my friends.  Indeed it does.  Divine.

If all this sounds a little much, rest assured that it’s quicker than reading these instructions.  It’s quicker than BUYING bread.  It’s a simple habit to develop and you’ll be glad you did. (Heavens, you’d think I was investing in your bread success.  I don’t know how to do that.)  Anyway, enjoy.

It’s Sunday morning, people

And at our house that means we have room for some of these:

  • Baking some bread (again, from The Italian Dish’s recipe);
  • Watching the smallest among us explore his space and his (distressingly loud) new lion roar;
  • Making smoothies (yoghurt, banana, frozen raspberries and peaches, oj) and trying them out on the baby-who-might-we-hope-to-god-be-outgrowing-his-dairy-intolerance;
  • Carefully assisting the drinking of said smoothies and cleaning up as we go;
  • Appreciating Ezra’s careful pronunciation of “tusks” and “scientists,” complete with his gloat that he can, in fact, pronounce difficult words like “tusks” and “scientists”;
  • Discussing (with Len, lest you mistake my childrens’ early interests) austerity  and Warren Buffett’s idea about managing the federal debt and generally airing our concerns about the future of our economy;
  • Contemplating what if any further seed-starting should happen today, now that we’ve got the tomatoes, parsley, dahlias, zinnias, and marigolds underway;
  • Revising my new work-management plan, which is basically a chart with the five categories of “work”-type stuff as columns and a range of different projects or tasks below — my strategy is to use this to keep the responsibilities before me, and to commit to checking off at least ONE of the things in each column weekly.  I’m curious, in this first week, to see where the check-marks naturally fall.  If you’re interested, I can post the chart;
  • Planning a new blog post on getting things done, based on a little facebook research I did recently…I figure if there are strategies that are shared by freelance techies; writers with full-time day jobs; perpetually curious students; professors with serious media addictions; and moms with multiple jobs, both paid and creative — well, then, perhaps they are useful strategies.  Worth a shot.
  • Wondering if it is going to snow about an inch every day for the next two months like it has for the last week or so.  I am weary of the overcast.

What are you up to today?

Parasaurolophus attack.

Parasaurolophus attack.

Uh, oh, I have to go.  I’m under assault by a parasaurolophus.  Right here on my desk.  It roars.

Resurfacing

You know how when you get sick and worn down, nothing seems significant anymore?  And that which does is mostly depressing?  Yeah.  That’s been the past week.  But we’re all starting to get better now, which gave rise to a fit of afternoon food production around here: lentil-sausage-pesto soup and citrus olive-oil cake and even some bread dough.  Recipes are offered below.  But I just wanted to register not only this fine achievement but also an important realization: when we’re low and off-kilter and sick, we consume.  When we’re grounded and whole and healthy, we produce.  Perhaps this is not the most important thing I’ve ever noticed, but then again, perhaps it is.  Resurfacing does more than let us gasp for air — it reminds us how to swim.

Recipes:

Lentil Soup: from Smitten Kitchen (scroll down the page some to find the actual recipe amid all the hoopla and enthusiasm), but I like it best with garlic sausage instead of sweet italian; kale instead of chard; and a cup or so of pesto to keep things lively.  It’s gorgeous.  Oh, and the garlic oil they rave about?  I haven’t tried it.  I’m sure it’s brilliant.  But who has time?  This is quick, healthy, and totally delicious.

Citrus Olive-Oil Cake: sorry I can’t share it.  It’s from Rustic Fruit Desserts, about which I often rave, and I probably need permission.  Pester me if you want me to look into it.  I will mention that we used only grapefruit and orange rind and substituted lemon extract — which makes me wonder if you could use all extracts in a pinch? — and it was terrific.  I used a pretty fruity olive oil and next time will go milder.  I mean, the cake itself is GORGEOUS, but with such a strong oil, you end up with a bit of aftertaste and -feel.

Bread: this one cracks me up.  I’ve been flirting with bread-baking for, oh, fifteen years or so.  I mostly spend a lot of time to make something kind of mediocre and so I bail.  I think I really need to get a sourdough starter and try again.  But this was a last-ditch effort at ordinary yeasty hearth bread, and I tried it because it’s no-knead.  So a lot less time.  I figured it would suck, but whatever.  Here’s the thing: it’s really good! It is, so far, hands-down the best bread I’ve ever made.  The coolest part is that you make the dough, let it sit out for two hours, and then refrigerate it for as long as you want.  You cut off a chunk to make a loaf (my dough will make about three loaves, I think), shape it and set it out to rise for about 40 minutes, and then you bake it on a pizza stone.  Absolutely delicious, and with a better crumb and texture than anything else I’ve made.  Maybe bread is like garden soil: we all think we have to maul it for best results, but if we can get out of the way and let it do its own thing, it’s brilliant.  Recipe is here.

On Nemo, of course

Image

It’s not like we can write about anything else today.  At least, not those of us who live in the 3-foot zone.  But it does help to remember a few things:

1. This is one of the few winters where a storm like this wouldn’t make it impossible to see out our driveway.  Some years, it’s been like a cavern, with snow banks eight feet high on either side.  This, all things considered, is not all that severe.

2. We haven’t lost power!  Hurrah!  Celebrations!  Naturally, I kept expecting us to, so we had the woodstove on all night (including a 2:30 am run to reboot).  And then we had to do some emergency baking — Mimi’s German Apple Cake, from Rustic Fruit Desserts (the best such cookbook I’ve found).  These are not awful things.

3. Kind neighbors are glorious: one such just snowblowed (snowblew?) out the worst of our four- and five-foot drifts.  I heap blessings upon him and his family.

4. There were brownies.  From the day before.  All chewy.  And Len was too sick to really compete for them (yes, I will make this up to him, but for Nemo, well, it was what it was).

5. The beauty of all this snow is astonishing, and if you catch me at the right moment, I am even capable of seeing that.  Witness.

6. And we are, after all, heading inexorably toward spring.  See?

Bulbs in pot

The perfect pumpkin bread

I know, I know, it’s an ambitious title.  But I’ve working on this for years, and I feel some confidence in the result.  wicked good pumpkin bread

My goals were these: pumpkin bread that is a) delicious and b) healthy.  It had to be tender and a little chewy and not harden up too much in the day or two following the bake.  I wanted to have some variability in spiciness and to be able to use either canned or real pumpkin.  Done.  Check.

Preheat oven to 350 F.  Makes two loaves.

Ingredients:

1.5 c all-purpose flour

1 c. whole wheat flour

1 c. oat flour (you can do what I did: buy the pricey stuff and THEN find out that you can grind oats in a blender to make it yourself, or you can just start the cheap way and feel all smug about it)

2 tsp baking powder

1 tsp allspice

1 tsp cinnamon

1 tsp nutmeg

1/2 tsp ginger

3/4 tsp salt

1/2 tsp baking soda

1 c. loosely or not-at-all packed brown sugar

3/4 c. milk (soy or cow’s, whatever)

1/3 c. vegetable oil

2 tsp vanilla

2 large eggs

1 15-oz can of pumpkin, or mashed roasted pumpkin (I used extra this time, maybe 15 oz, and loved the result)

Optional walnuts, chocolate chips, currants, whatever — though it’s pretty awesome plain.

Process:

Preheat oven to 350 F.

Mix dry ingredients together; make a well in the center.

Mix sugar through pumpkin in a separate bowl; add to the dries.

Add whatever extra stuff you feel you need.

Pour into two greased 8 or 8.5″ loaf pans and bake for 1 hour.

Notes:

You can also add 1/2 tsp of cloves and a pinch (or more) of cayenne if you want a spicier version.  Also, be glad this makes two loaves.  Strongly consider giving one away, but know that I will not judge you if you end up not.